

This article will show you how to make a proportionally correct 1/187 (about) size Hubble Space Telescope. I tried to add as many details as possible, but it was hard at such a small size. It was really easy, but it did take a while to make.
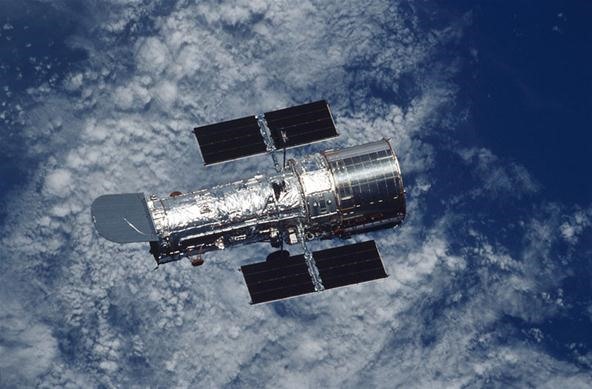
Here are some specs for the real Hubble Space Telescope:
- Length: 43.5 ft (13.2 meters), about the size of a school bus.
- Weight: 24,500 lbs (11,110 kg)
- Maximum Diameter: 14 ft (4.2 meters)
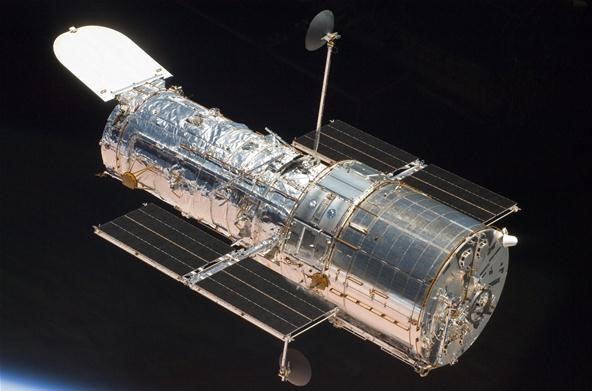
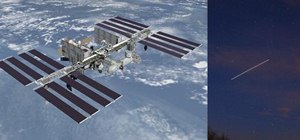
The Hubble space telescope was the first space telescope. Funding for it began in 1977. The idea was that if we could send a telescope into orbit around the Earth, there would be no interference with the atmosphere. Finally, on April 24, 1990, Hubble launched into orbit in the Space Shuttle Discovery. Right after launch, there was a problem in the mirror. While the pictures were better than the ones from ground observatories, they were still fuzzy.
Hubble's mirror had a problem. The mirror was slightly distorted, which caused the point of focus to be on a slightly different are than it should have been. This sometimes happens in the eye, making the point of focus a little too far or close to the point it should be at, which is why you need glasses.
So, was NASA going to put glasses on Hubble? No, but they had a idea.
Some new mirrors could be placed on the inside of the telescope to bounce the light in the right direction. The COSTAR (Corrective Optics Space Telescope Axial Replacement) would be installed to do this. The astronauts would also replace some of the other instruments.
NASA spent nearly a year training for one of the hardest space missions ever attempted. The Space Shuttle Endeavor sent astronauts into space for nearly a week of repairs on Hubble in December 1993. They removed the High Speed Photometer and replaced it with COSTAR. They replaced the original Wide Field/Planetary Camera with the newer WFPC2. They also replaced a few other instruments including the solar panels. On December 9, they were finished. On January 13, 1994, they released the first new images from Hubble's fixed mirror—they were flawless.
Hubble was repaired several times afterwards, too. In February 1997, lots of instruments were replaced or upgraded. Also, in December 1999, they replaced some instruments and all six gyroscopes.
Hubble's next servicing mission was scheduled for 2006. After the Columbia broke apart, all shuttles were grounded. On October 31, 2006, it was announced that Hubble would be serviced again. Servicing Mission 4 took place in May 2009. Astronauts replaced a ton of equipment including batteries and the gyroscopes. Astronauts also removed the COSTAR instrument. Through all of the replacements, it had eventually become unnecessary.
Now, how to build the model.
Tools
- Scissors
- X-Acto knife
- Glue
- Hacksaw
- Paint
Materials
- Card stock paper
- Thin plastic sheet
- Thin silver-colored metal sheet
- Thin piano wire
- Aluminum foil
- 2 sizes of PVC (more on this later)
- A large paperclip
- A drill bit the diameter of your paper clip and a drill bit about the size of your piano wire
- Tape—clear and duct tape (or similar)
- Glue—various types
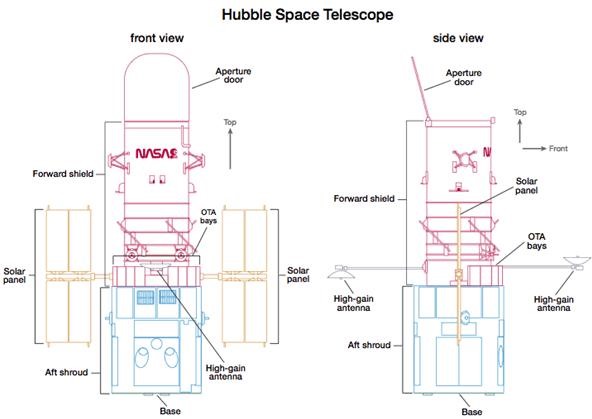
Step 1 Sizing
Okay, after about 10 minutes of math, I came up with some accurate rounded sizes for the telescope. So, here it is:
Solar Panels
- 0.5 inches by 1.6 inches
- I made these with the plastic sheet.
- The paperclip holding the solar panels should stretch across the 0.5 inches and 0.25 inches should be exposed.
Telescope
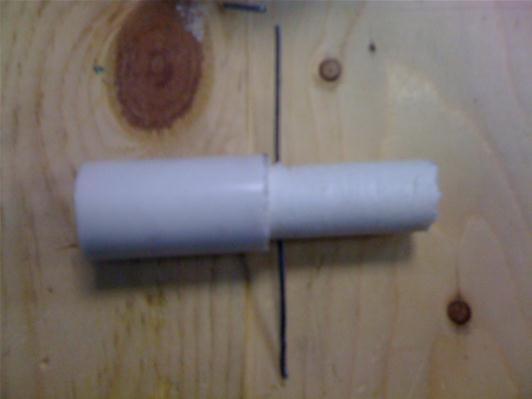
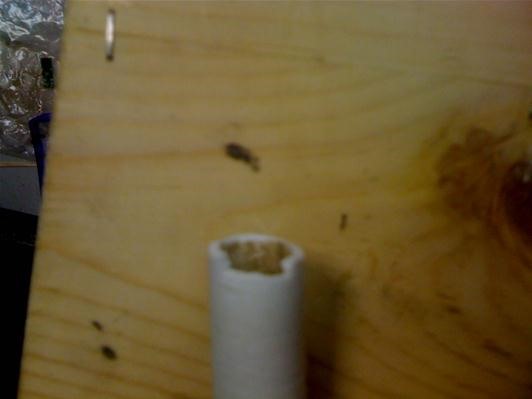
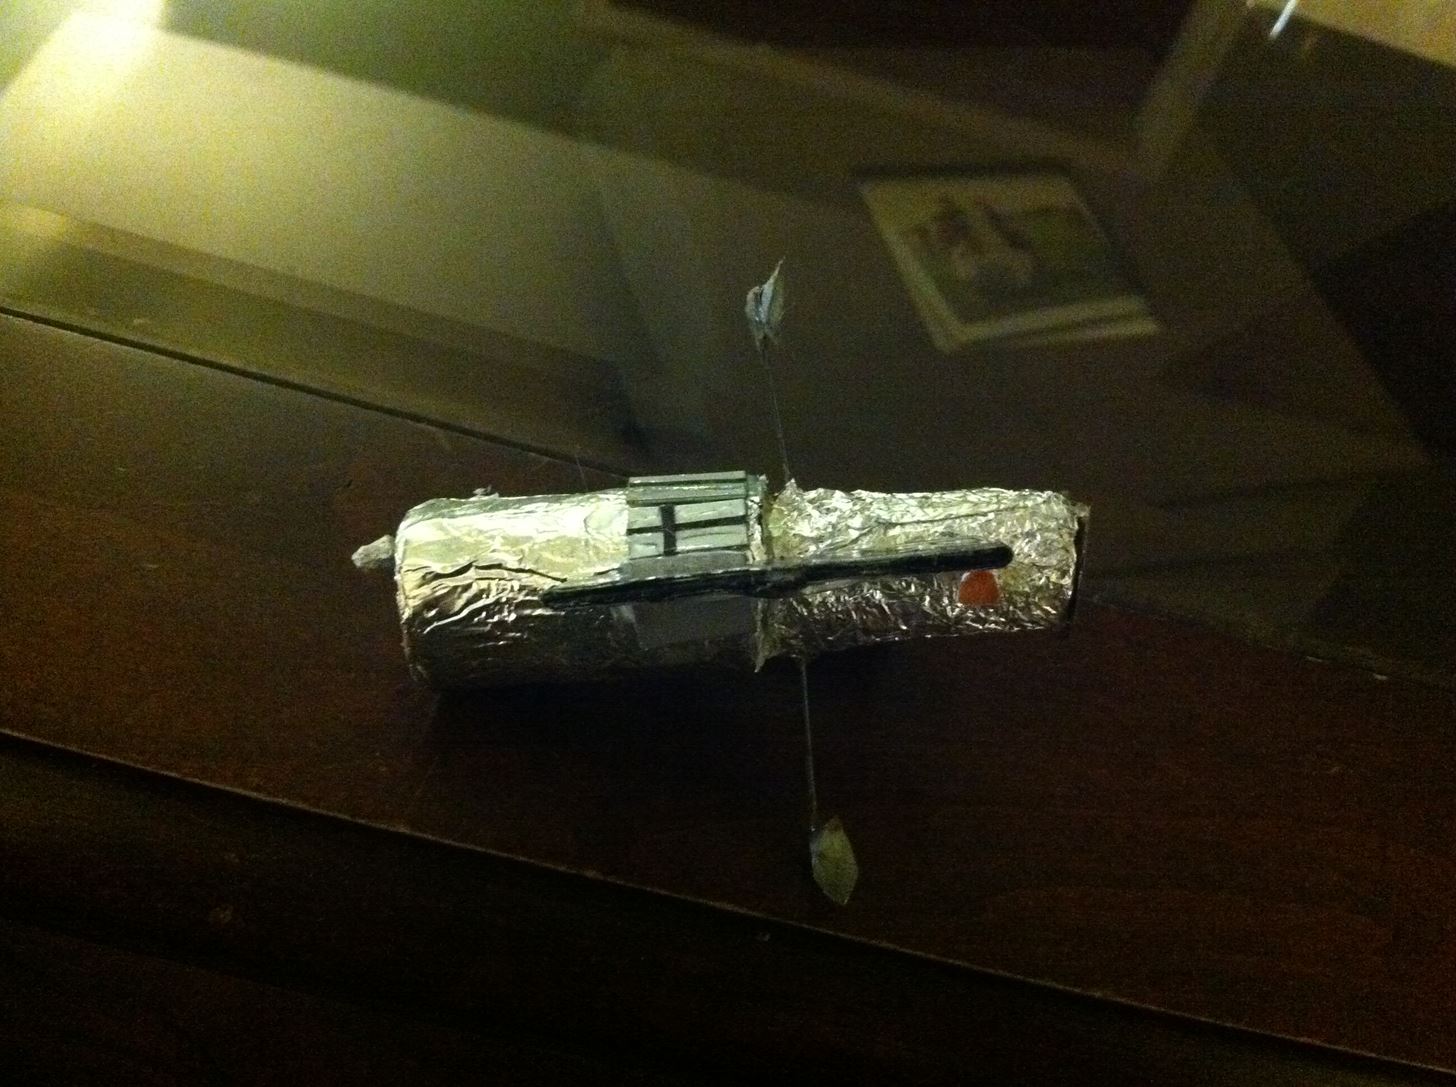
- 3 inches by 0.9 inches at the thickest—I used the closest PVC pipe size there is to that and then one size smaller.
- The larger PVC should be 2/5 of the total length (which is 3 inches, so 1.2 inches). I accidentaly made mine about half the total size.
- You should start by cutting out the PVC and gluing them together.
This picture may help you with the sizes and details:
Step 2 Solar Panels
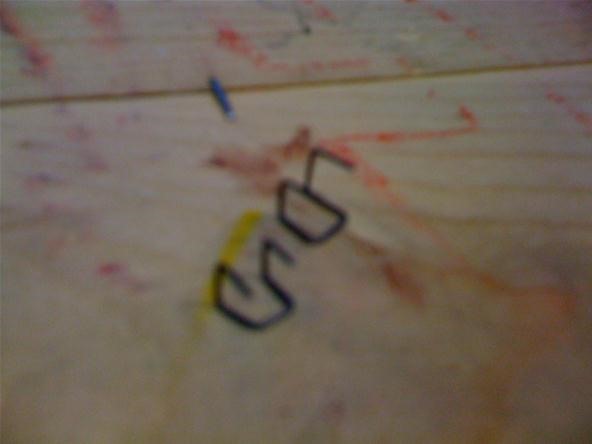
First, straighten out the paper clip. Drill a hole the size of the paper clip on the smaller PVC close to the jump to the larger PVC.
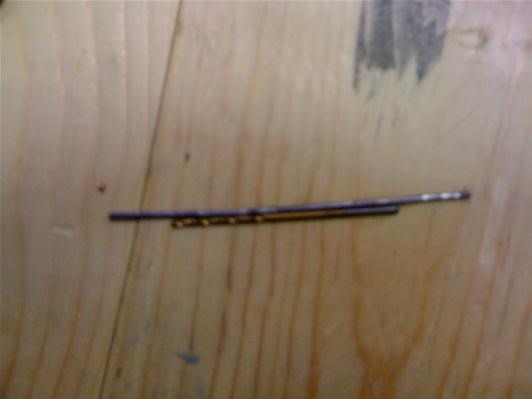
Glue the paper clip halfway down the solar panel with all of it sticking out on one side of the panel. Thread the paper clip until 3/4 of an inch is showing (including the part already on the panel). Measure 3/4 of an inch on the other side of the paper clip and cut it off there.
Glue the other panel to this side with the paper clip halfway across. I put a dab of Elmers glue on both sides of the paper clip so it wouldn't slide back and forth. I will be talking about the details and coloring the telescope and panel later.
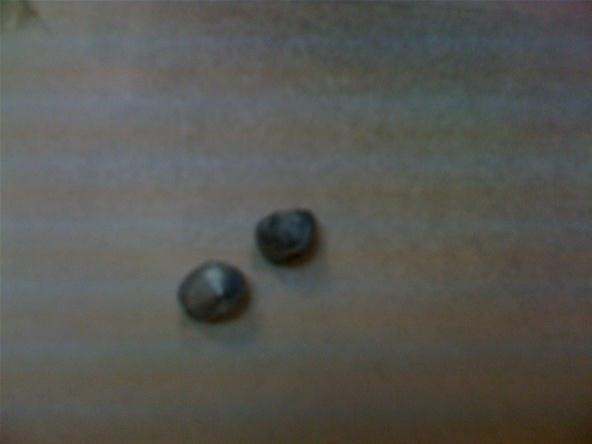
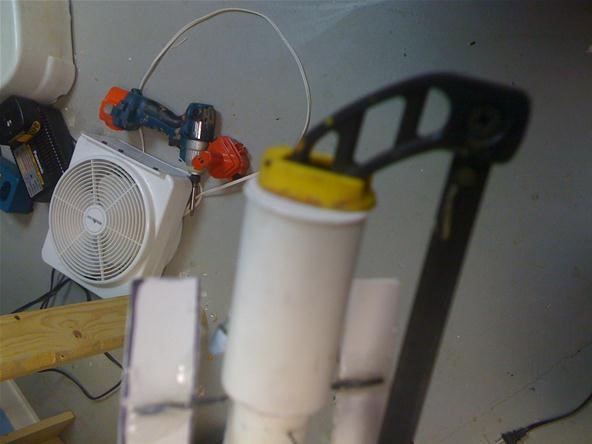
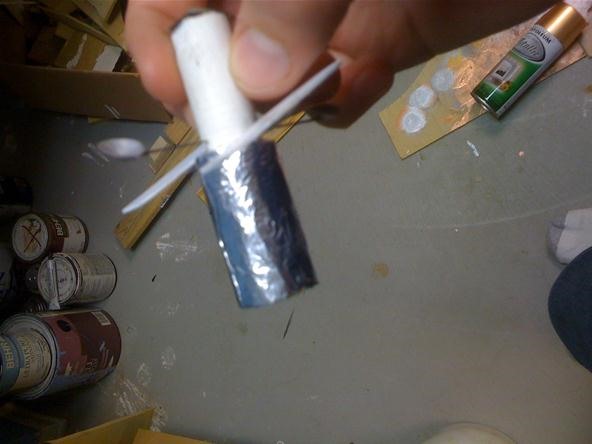
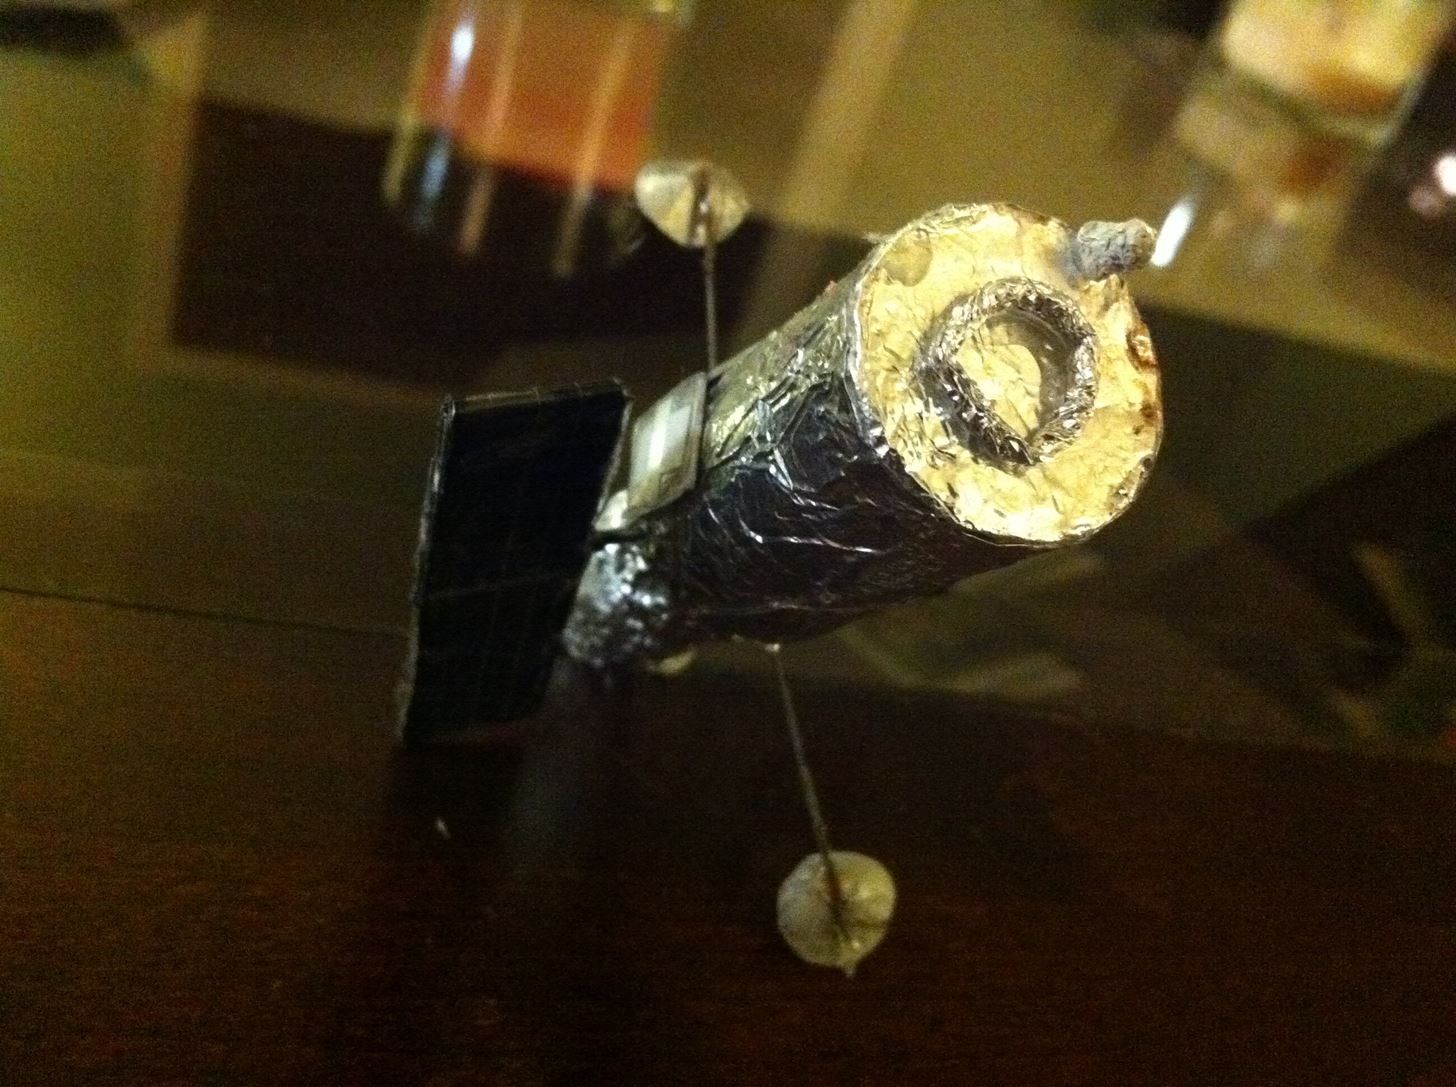
Step 3 Aperture Door
I made the door out of a thin metal sheet, probably from some electrical part. I easily cut it into its circle with a flat edge shape using scissors.
I also notched a part of the PVC and placed a magnet there so it could hold the door closed.
I simply made the hinge out of a piece of electrical tape glued in place for extra reinforcement.

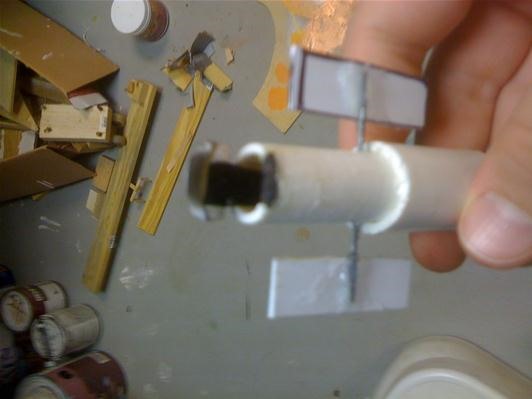
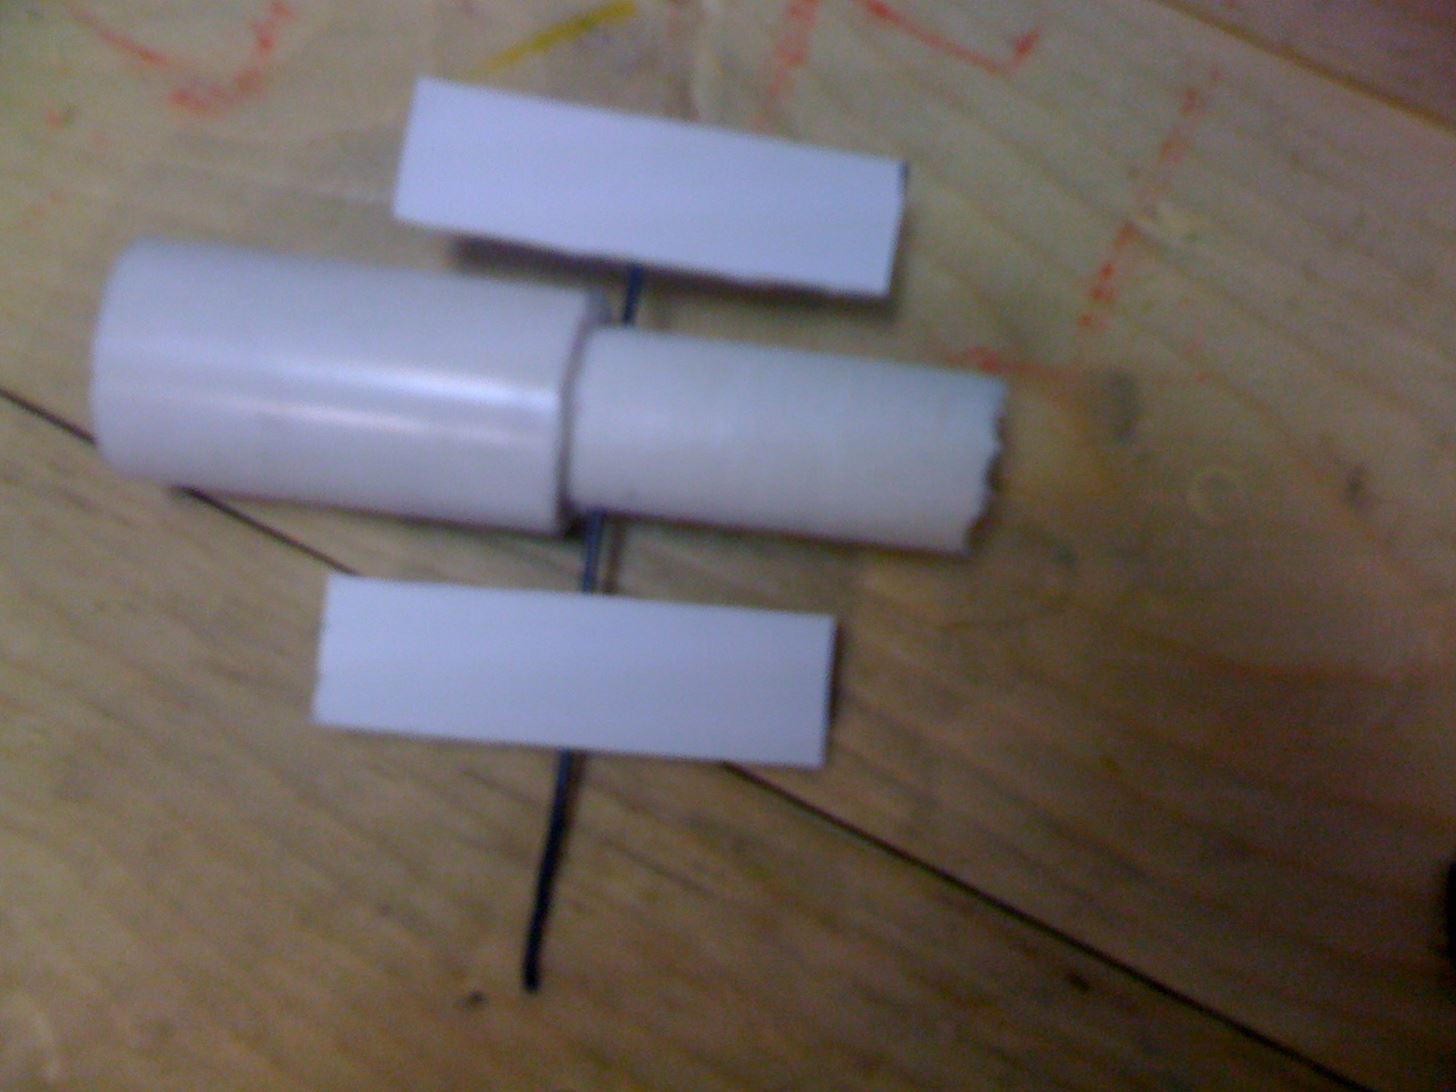
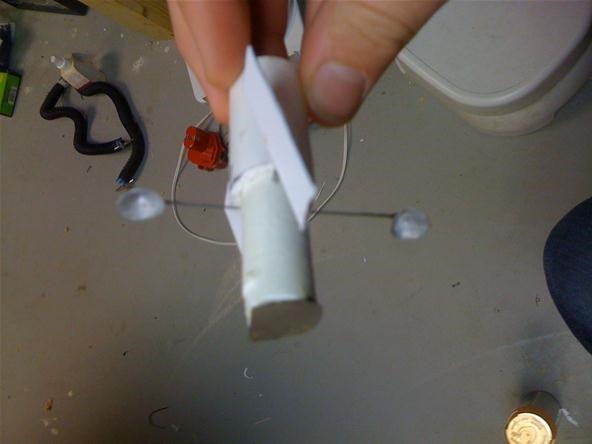
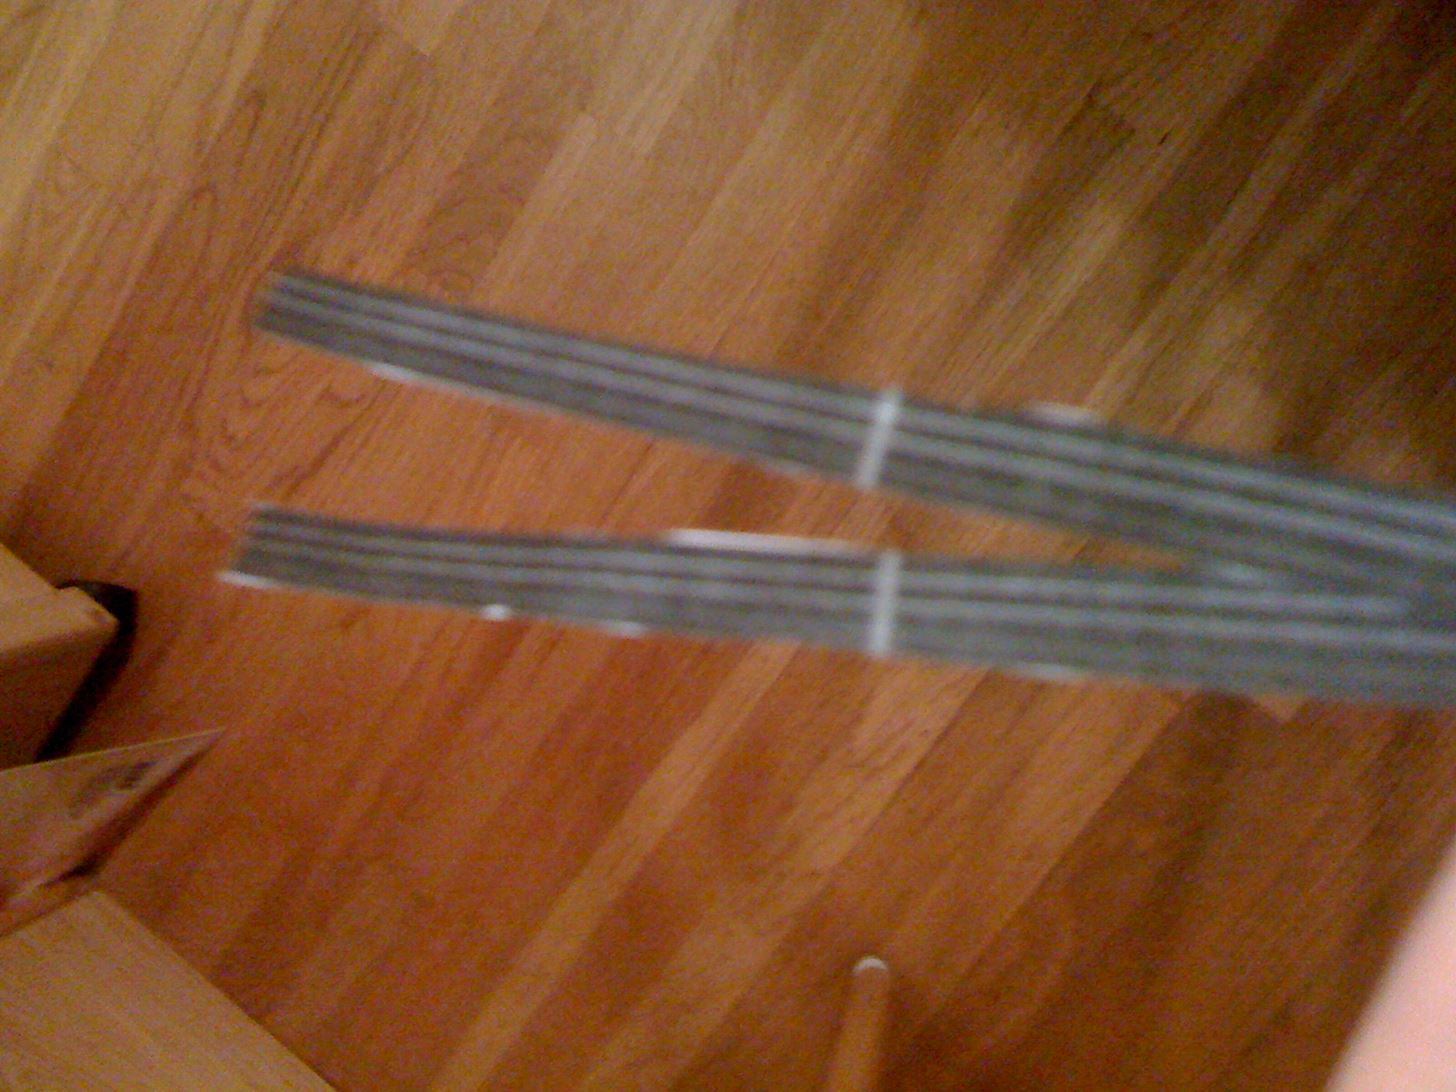
Step 4 High-Gain Antennas
The high-gain antennas are the two antennas with the disks on the end. I made the disks out of painted card stock paper. I think I made them a little too large, though. I cut circles out, cut a slit down the middle, and made sort of a flat cone.
I then painted it and cut it down a little smaller. I drilled a hole the size of the piano wire perpendicular and very close to the paper clip. I had to guess at the size of the antennas through pictures. I threaded the wire through the hole and then glued the disks in place.
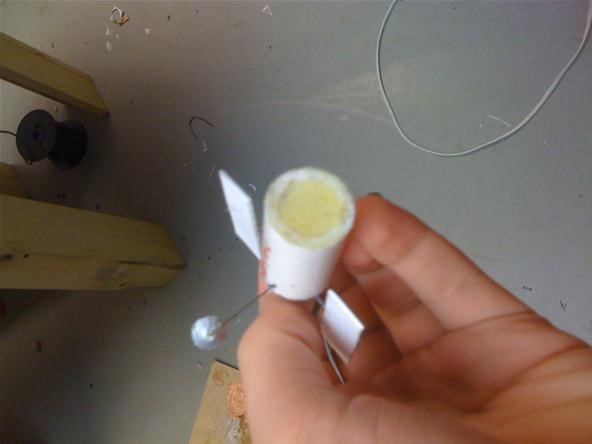
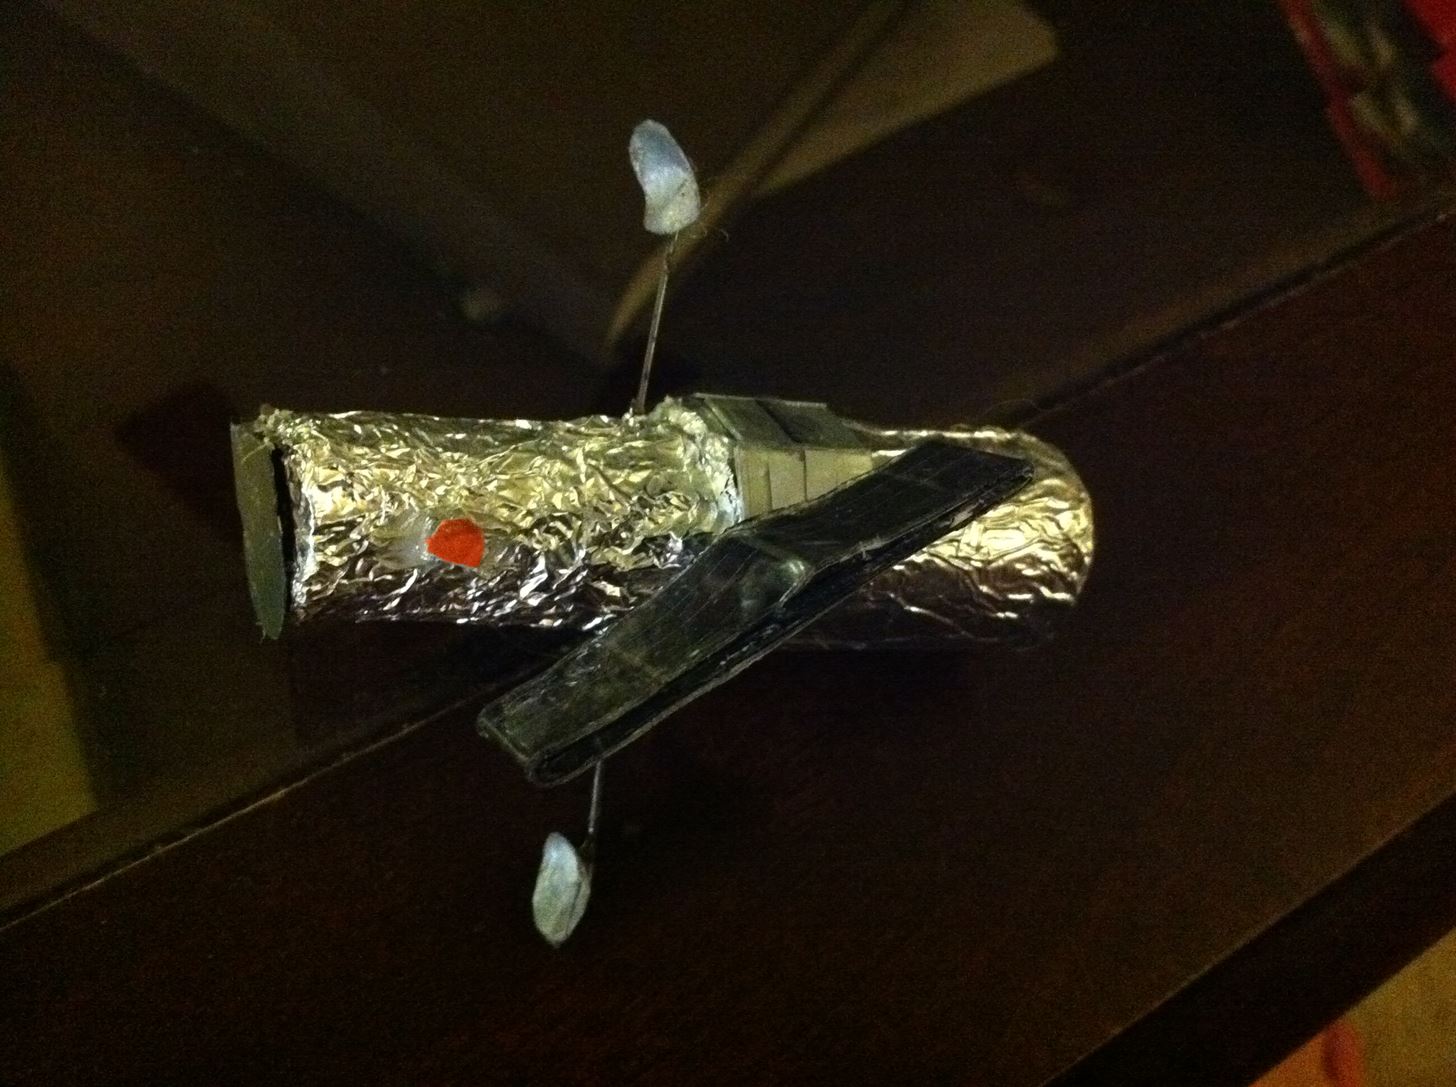
Step 5 The Back
Since the PVC was still open on the back, I needed to make a back. I cut a circle out of the plastic sheet and glued it to the back with Gorilla Glue.
Right after I did this, the back fell off. Luckily, since Gorilla Glue expands it had made a perfectly flat back.
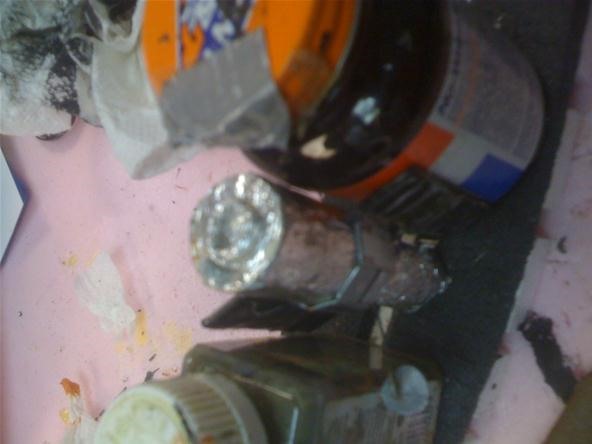
Step 6 The Foil
Let me warn you, this the longest and most painstaking step of the project. Amazingly, foil does have a right and a wrong side. For the larger PVC and the back, you will want to use the wrong side (the dull side) of the aluminum foil. Also, the larger PVC and the back should be as smooth as possible with little to no wrinkles. You can rub the wrinkles out by smoothing it with your fingers. I also cut two separate pieces for the back and the large shaft. Now just glue the foil in place with some Elmers glue or something—you don't need any heavy duty glue for this part of the project.
For the second piece of foil, you want to crumple the foil before placing it.
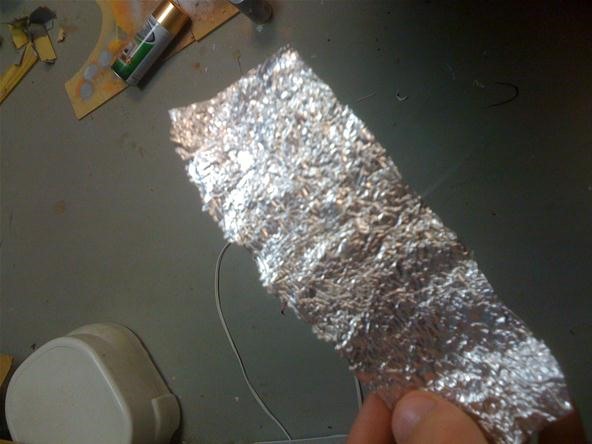
Now this is where it gets a little tricky. For the smaller PVC, you must get past the wires sticking out of the telescope. Before I glued it, I cut four slits where the four wires are sticking out. Then I simply glued the foil around the wires.
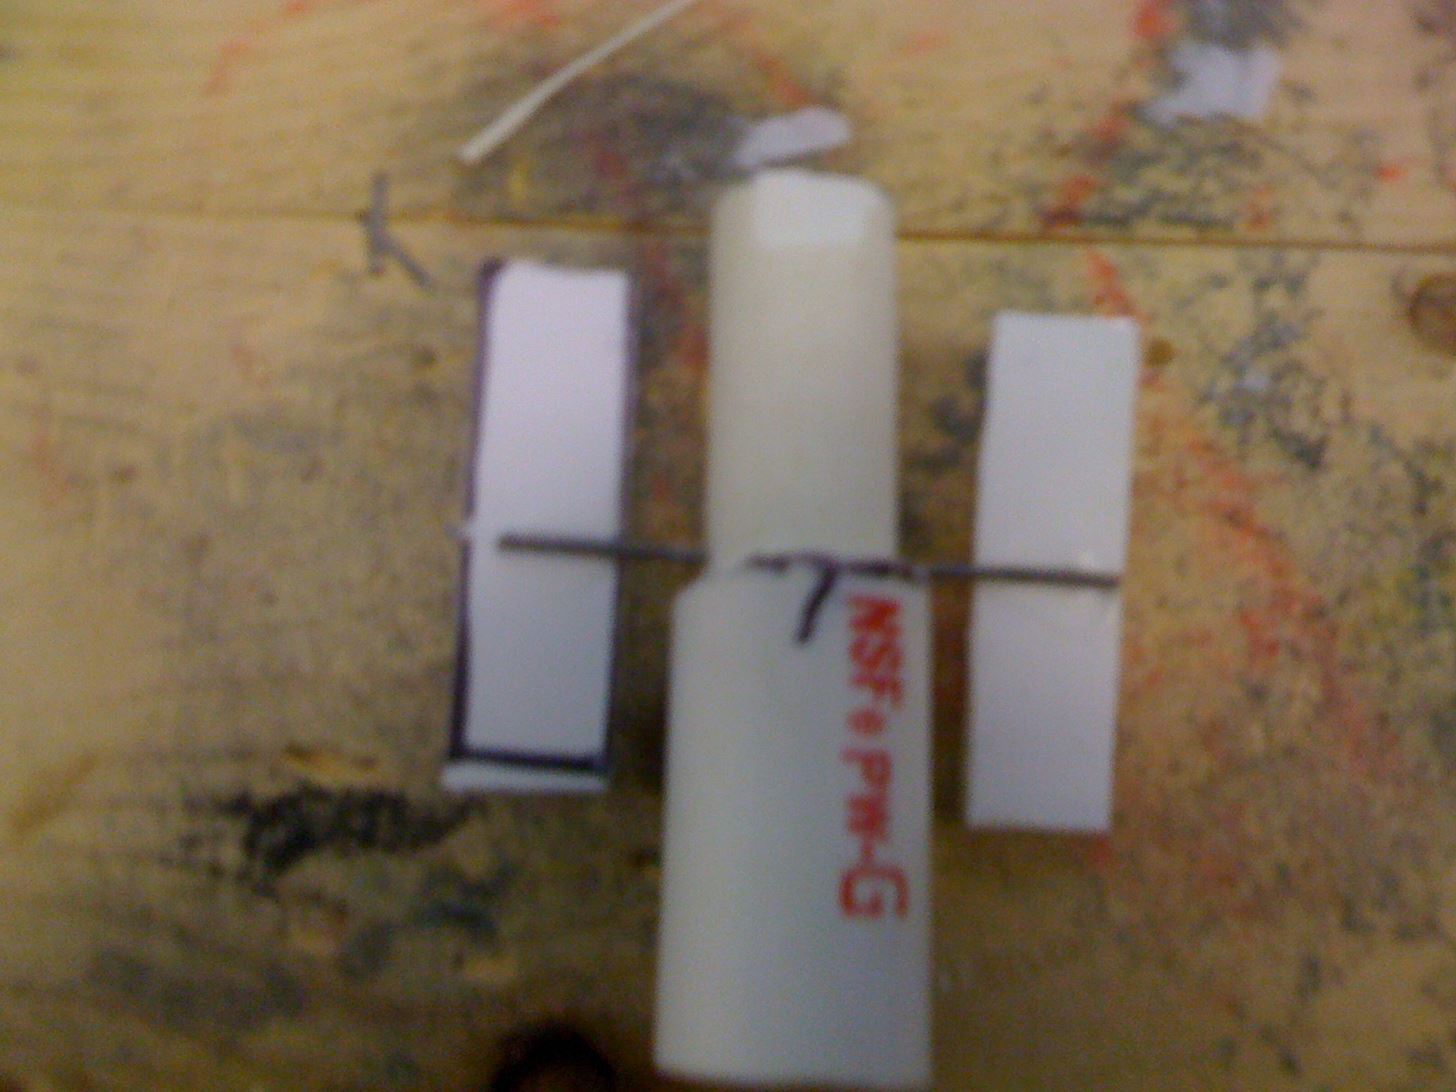
Step 7 Panel Details
For the panels, I made sort of a diagram that looks like solar panels that you need to print out. You will need to size the diagram to 1/4 of an inch. You will need to print 2 copies of the diagram. Here it is:

After you print this out, cut the black squares out and glue them on either side of the panels. After I did this, I wrapped the panels in packaging tape to give it a glossy look. I also heated the excess tape on either side of the telescope so it was the perfect side.
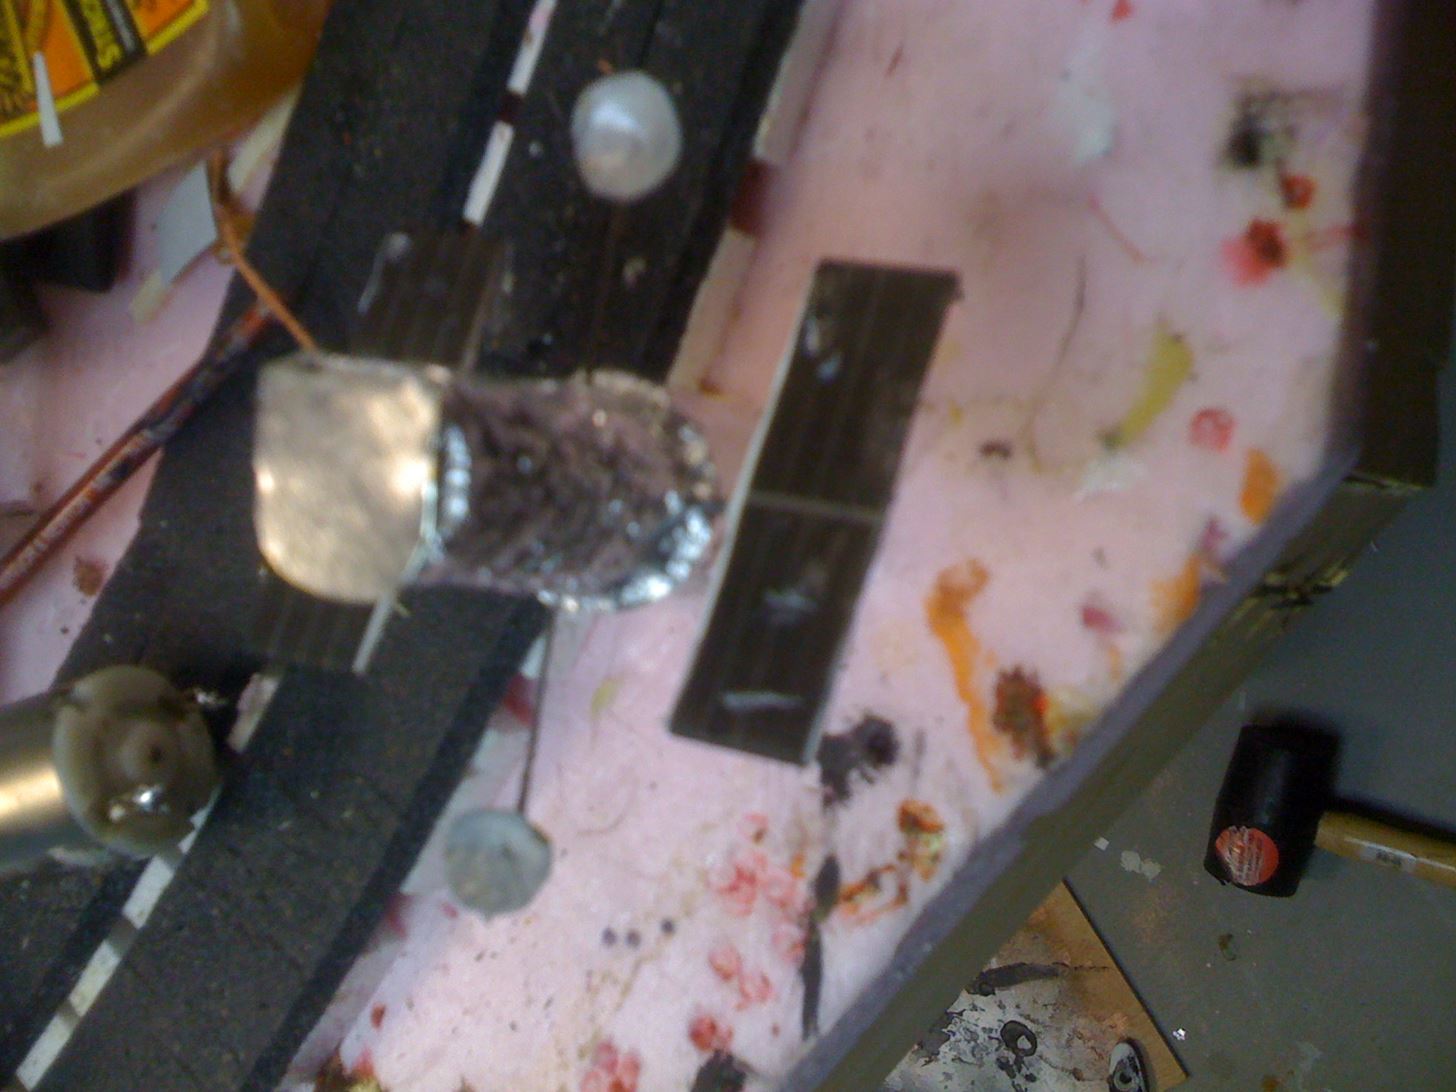
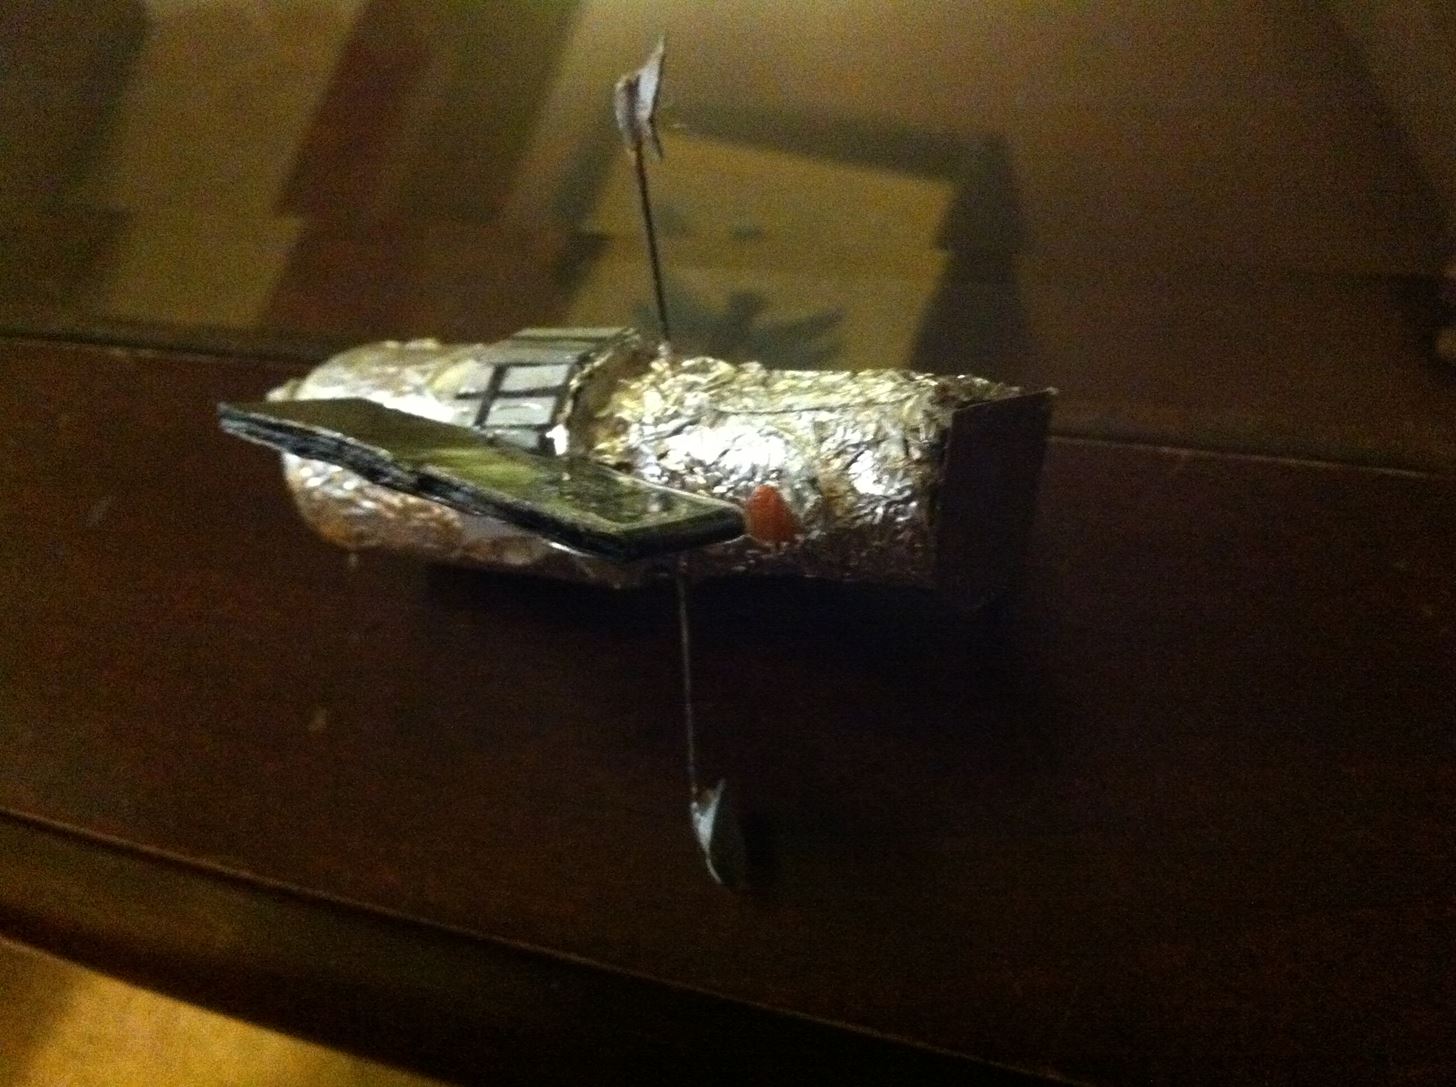
Step 8 Extra Details
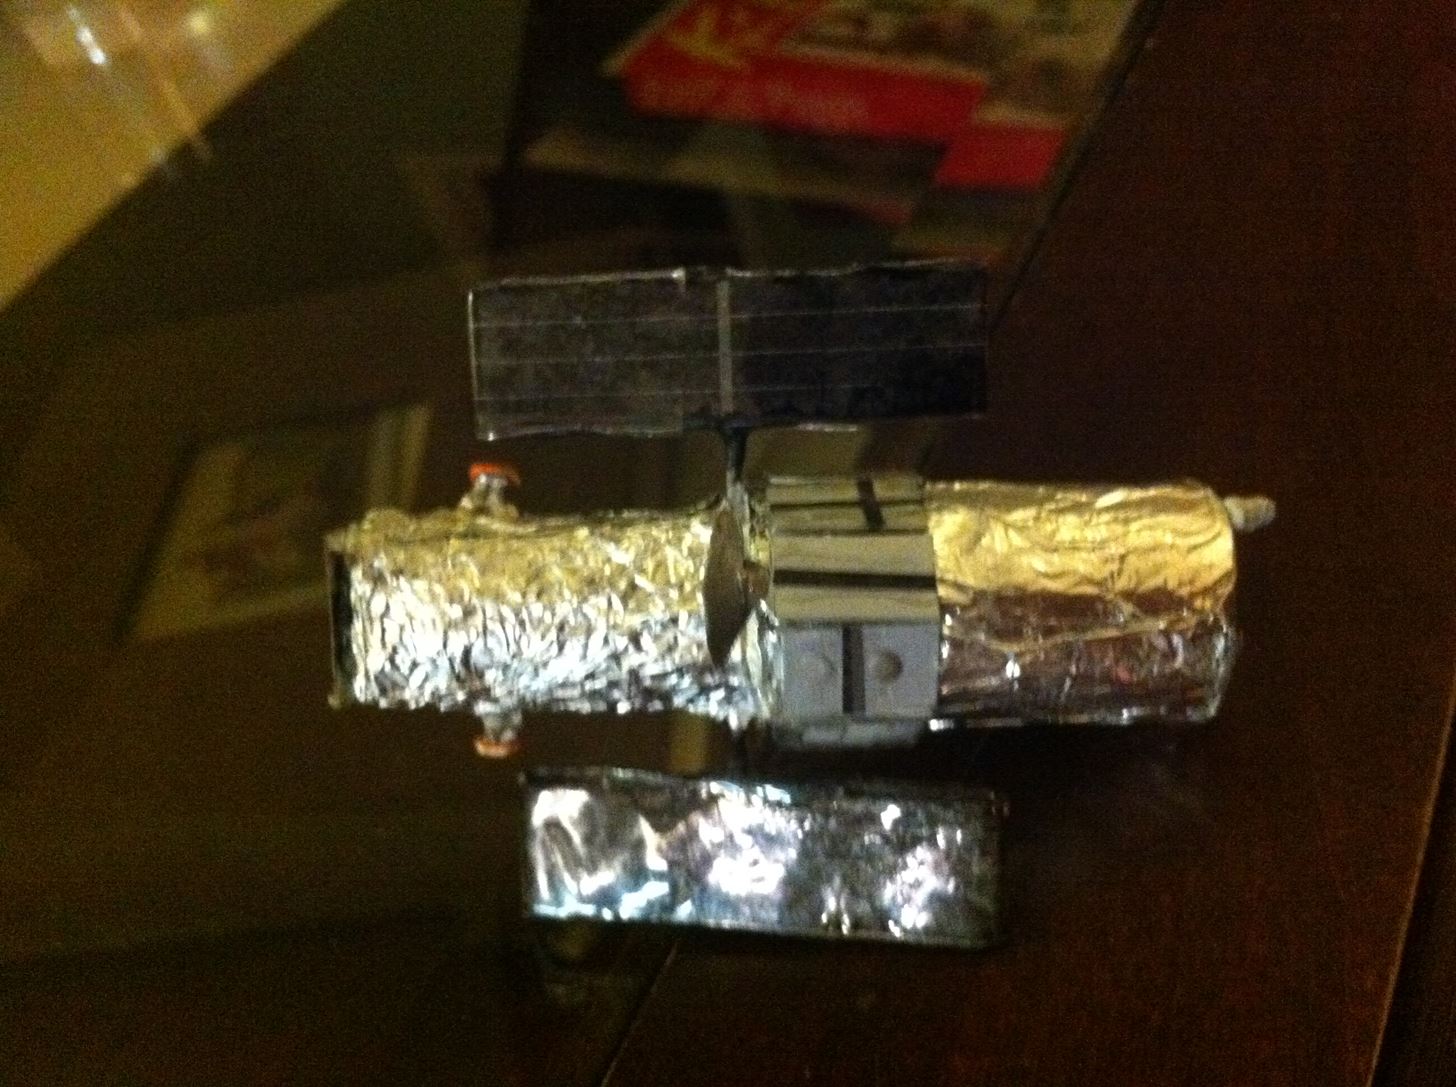
I made a few extra details to make the telescope look more real. The first thing I did was make some instrument panels on the telescope. Take a look at this picture:
There seems to be six sections of instrument panels on the larger section of the telescope. I cut them out of the plastic sheet. I painted some details on them.
The second detail I made were the small orange disks on either side. You can see them on either side of the aperture door in the picture above. I cut the disks out of the plastic sheet and painted it orange. I bent the piano wire into a square to hold the disk up.
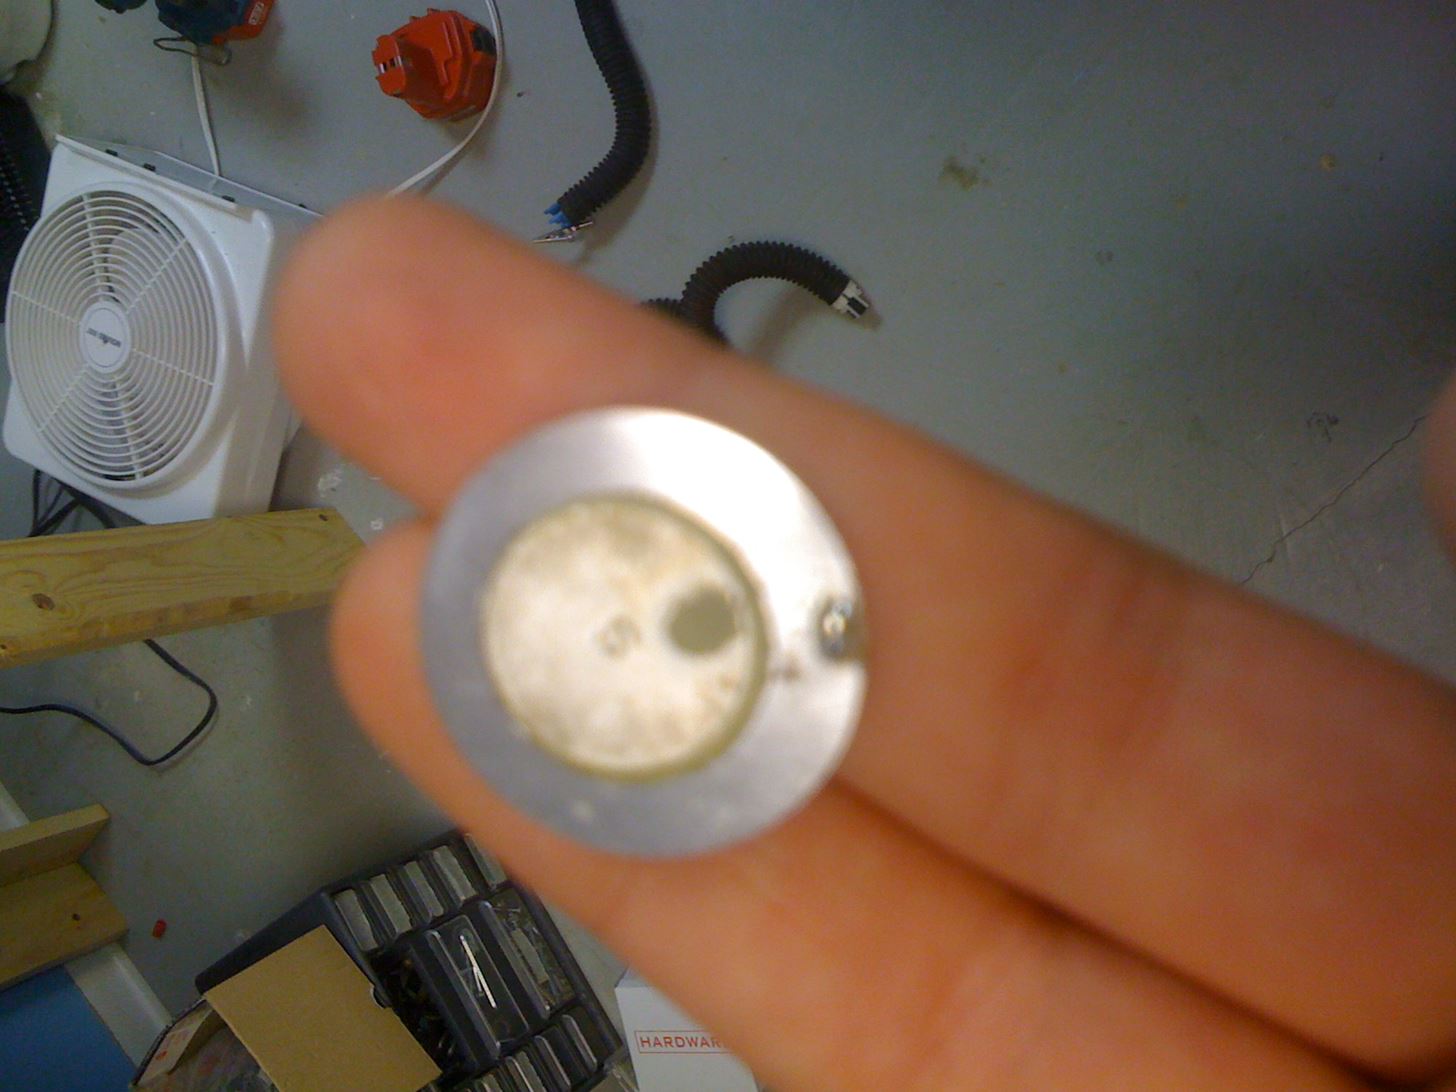
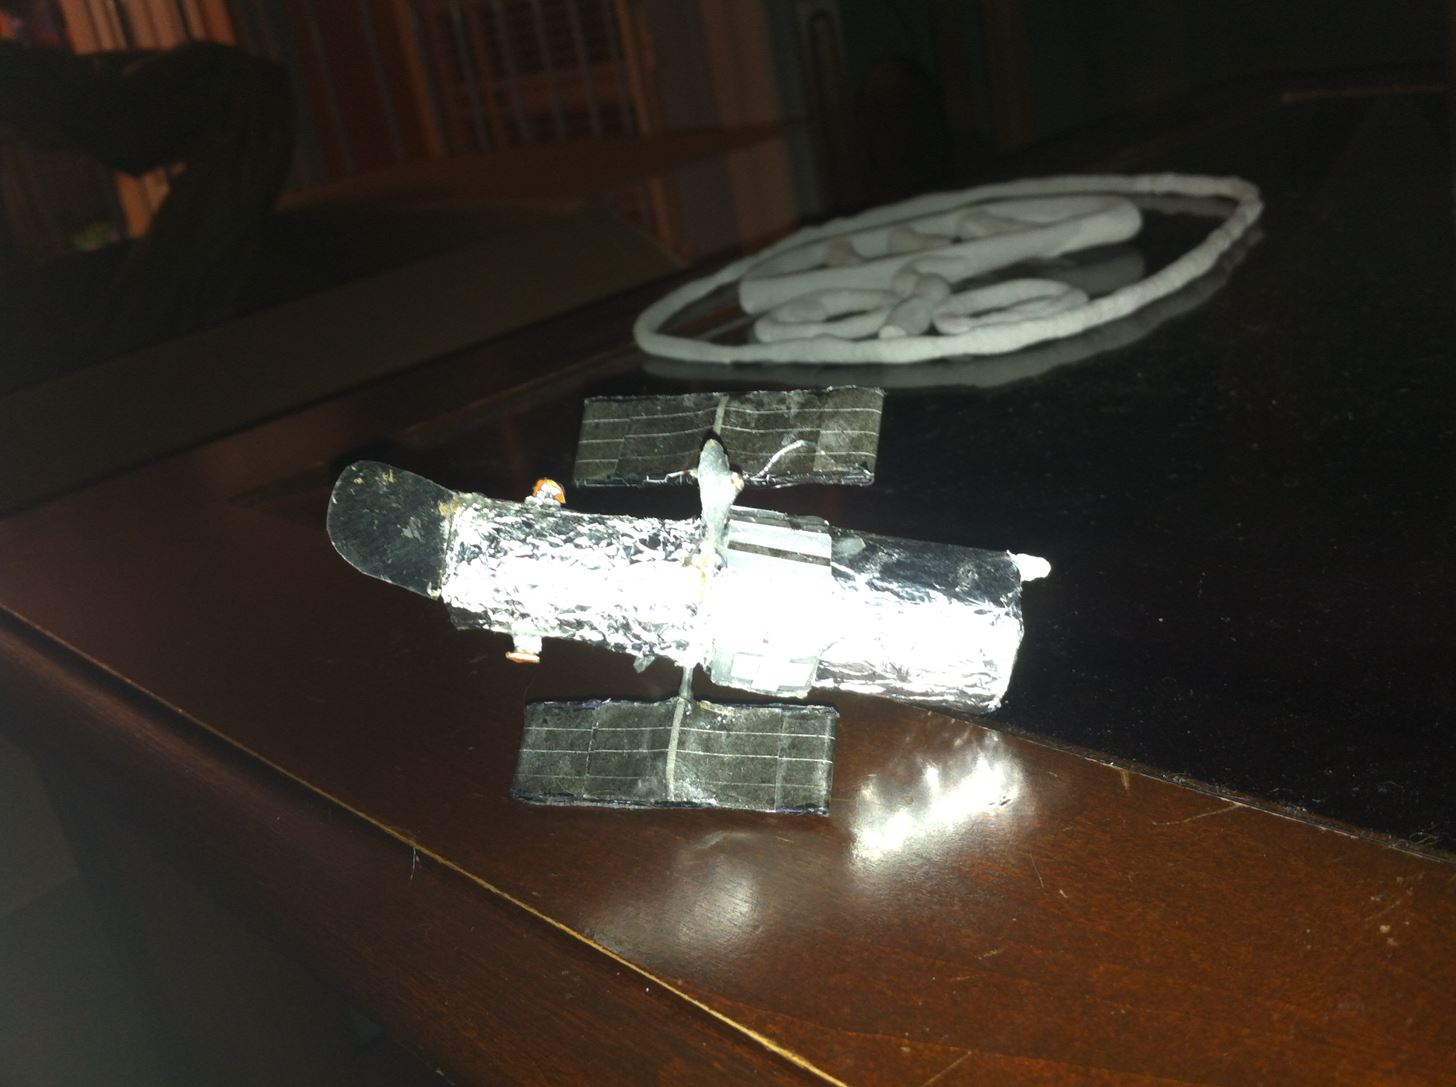
The third and final detail I made was adding some textures to the back. This step was really easy. I made a circle out of some aluminum foil and glued it to the back. This circle is for the robot arm to attach to while the Hubble Space Telescope is eventually being decommissioned. Also, I added a small piece of plastic painted grey. The piece of plastic is shaped like an LED. Here is the robot arm circle I added:
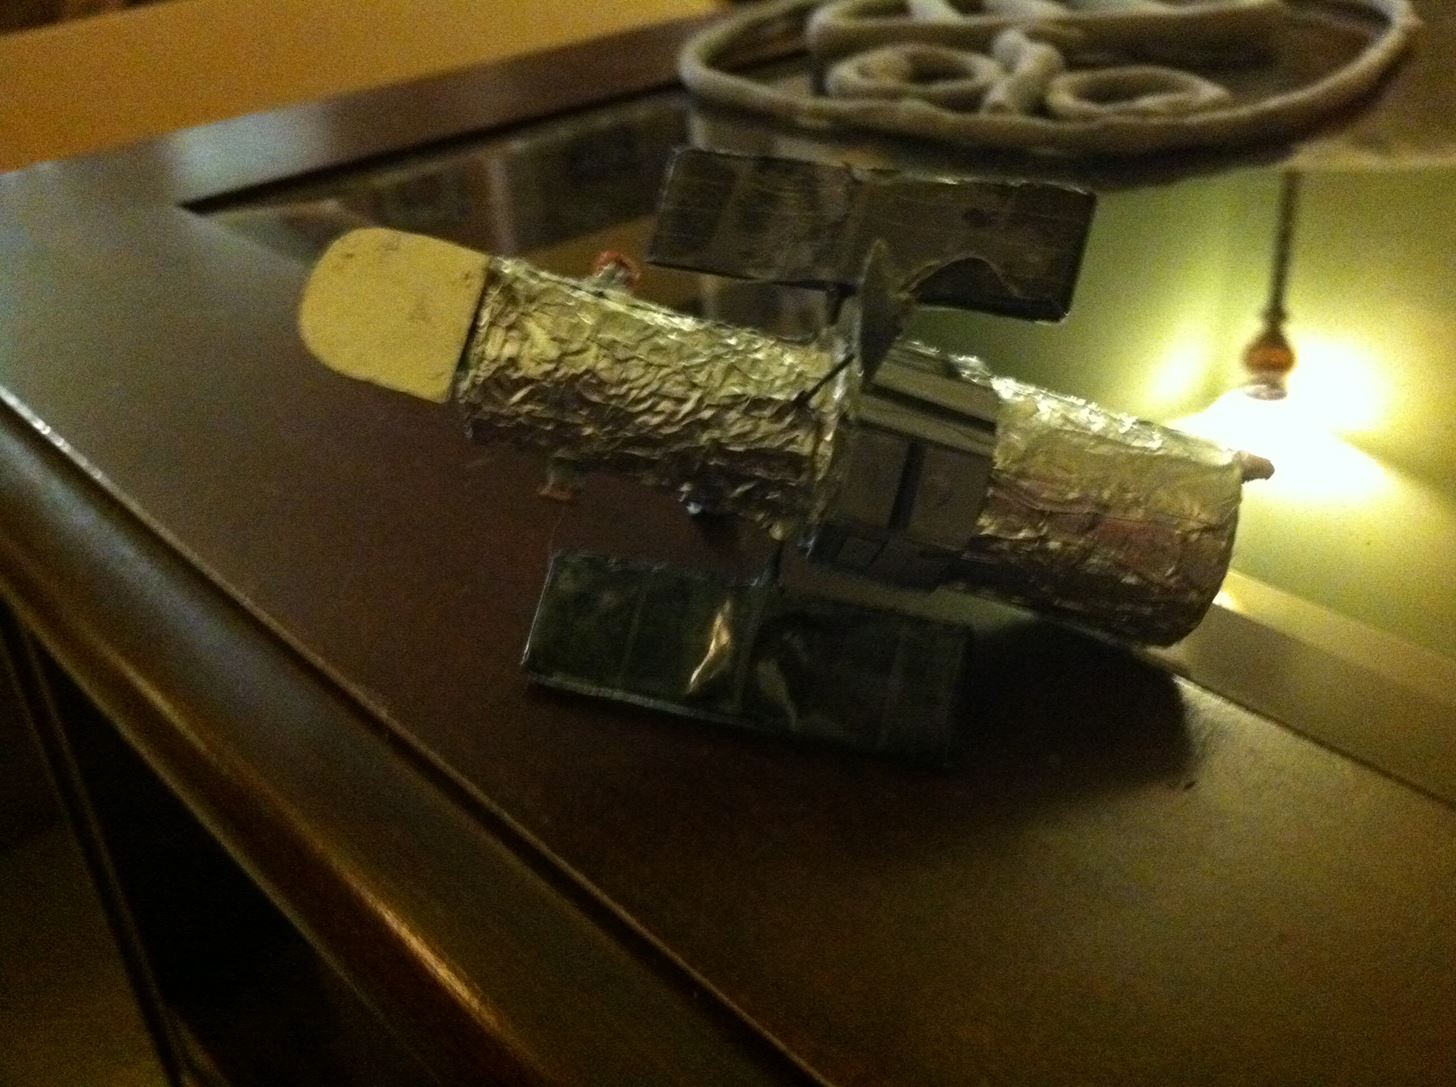
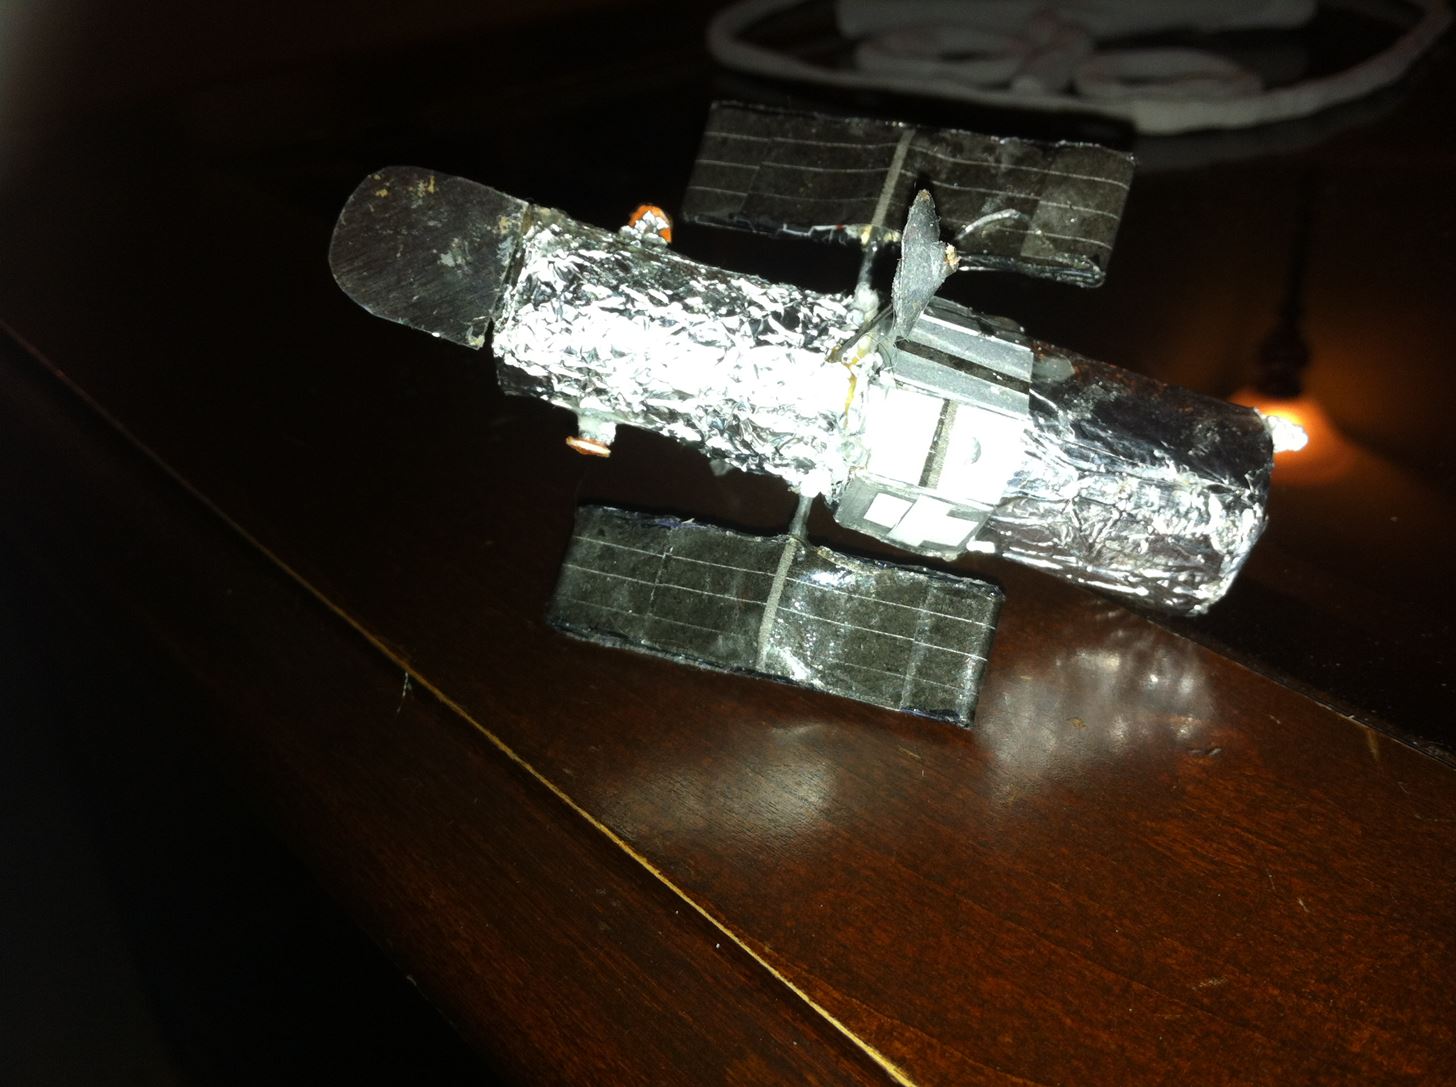
Finished Pictures
Well, now you're done! Now here's some finished pictures:
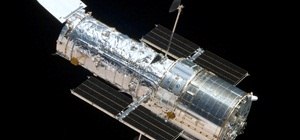
Thumbnail by Ruffnax
Just updated your iPhone? You'll find new emoji, enhanced security, podcast transcripts, Apple Cash virtual numbers, and other useful features. There are even new additions hidden within Safari. Find out what's new and changed on your iPhone with the iOS 17.4 update.


3 Comments
Wow. nice one, Cerek!!
Very cool! Now you just need to create some space scenery for mini-Hubble to take snapshots of.
Ha! that would be pretty cool
Share Your Thoughts